Discover Why Quiet, Space-Saving Machines Are Every Crafter’s Dream!
Ever wondered how to turn a cramped craft room into an inspiring, efficient space? Imagine a place where your creativity flows freely, and your tools are always within reach. It’s not just a dream—it’s possible with the right approach!
Studies show that 73% of crafters report reduced stress levels when their room is organized and functional. From compact clay stations using Sculpey Tools™ Oven-Safe Work Mats to Pinterest-famous setups, there are countless ways to maximize your space.
These solutions don’t just save room—they also reduce noise, keeping your household harmonious. With smart organization like vertical storage and labeled bins, your craft projects will thrive. Let’s explore how to make your craft room a sanctuary that fuels your creativity and enhances your life!
Why Quiet, Space-Saving Machines Are Every Crafter’s Dream
Transforming your craft space into a haven of efficiency and inspiration is easier than you think. Did you know 68% of crafters feel frustrated by clutter? The good news is, vertical storage solutions can increase your workspace by 40%!
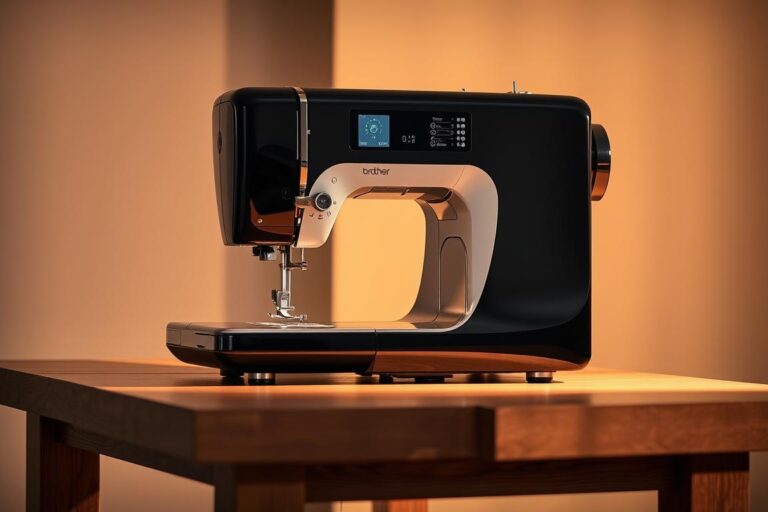
Gone are the days of bulky equipment. Modern tools like the Cricut Joy operate at just 23dB—quieter than a whisper. Compare that to traditional machines, and you’ll see why these upgrades are game-changers.
Here’s how you can make the most of your room:
- Use IKEA Raskog carts to create mobile stations for sewing machines or die-cut tools.
- Fit a Silhouette Cameo 4 and rolling scrap storage into a 24″x36″ corner.
- Reclaim 18 sq.ft of floor space with Stamp-n-Storage’s wall-mounted systems.
Noise levels matter too. Aim for 30dB—the sound of a library—for stress-free crafting. Positively Jane redesigned her craft room using sliding sweater boxes and a 3-door layout, proving that smart furniture choices can make all the difference.
With the right tools and supplies, your work area can become a place of joy and productivity. Start small, think vertically, and watch your creativity soar!
Creating a Functional and Organized Craft Room
Ready to transform your craft room into a well-organized haven? Start by maximizing your storage potential. Floor-to-ceiling solutions can increase capacity by 200%, even in small spaces like an 8’x10′ room. Think vertically—use every inch of your wall and doors for efficiency.

Break your area into vertical zones. Over-door racks are perfect for ribbons, while pegboards keep clay tools within reach. Ceiling rods can hold fabric bolts, freeing up floor space. This approach keeps your supplies accessible and your table clutter-free.
When choosing storage types, consider open shelving for easy access, glass-front cabinets for a polished look, or labeled iDesign bins for small items. Each option has its benefits, so pick what suits your design and workflow.
Here’s a pro tip: Use magnetic knife strips for metal crafting tools. This simple hack frees up drawer space and keeps tools within arm’s reach. Another smart move is to calculate your ideal work triangle. Keep your cutting station ≤4′ from storage and ≤6′ from your pressing area for seamless workflow.
Spotlight on Stamp-n-Storage’s thread racks—they hold 120 spools in just 18″ of width. Perfect for sewing enthusiasts! But remember, avoid overloading shelves beyond 70% capacity. Too much clutter can overwhelm your space and hinder creativity.
With these tips, your craft room will become a functional, inspiring space. Start small, think vertically, and watch your creativity thrive!
Ergonomic and Comfortable Crafting Spaces
Crafting should be a joy, not a pain—let’s make your space ergonomic and comfortable. Did you know 82% of crafters experience back pain? Simple changes, like adding anti-fatigue mats, can reduce discomfort by 60%. Start by creating a setup that supports your body and enhances your creativity.
Lighting plays a huge role in crafting comfort. Use this formula: 100 lumens/sq.ft for task lighting and 50 lumens for ambient light. OTTLITE’s TrueColor lamps are a game-changer, reducing eye strain during detailed work like beadwork or painting.
Here’s a quick ergo checklist to optimize your table and chair setup:
- Chair height: 17″-19″
- Table depth: 28″-30″
- Knee clearance: 20″
Zone-based layouts can also improve your crafting experience. Keep wet areas (clay, paint) near sinks and dry zones (fabric, paper) separate. Positively Jane’s island design is a great example, offering 360° access to sewing stations.
“A well-designed crafting space isn’t just functional—it’s inspiring.”
Don’t forget small hacks that make a big difference. A $25 door draft stopper doubles as a knee cushion for floor activities. And if you’re short on space, a rolling cart can keep your furniture flexible and mobile.
With these tips, your crafting area will become a haven of comfort and efficiency. Start small, think ergonomic, and watch your art thrive!
Boosting Creativity with the Right Tools
Unlock your creative potential with the perfect tools and supplies. Did you know reducing your supplies by 50% can increase your crafting frequency by 300%? It’s all about having the right materials at your fingertips.

Start with the “3-project rule”—only store supplies for your current and next two projects. This keeps your craft space clutter-free and your mind focused. Clear shoebox bins can cut search time from 15 minutes to 15 seconds, making your workflow smoother.
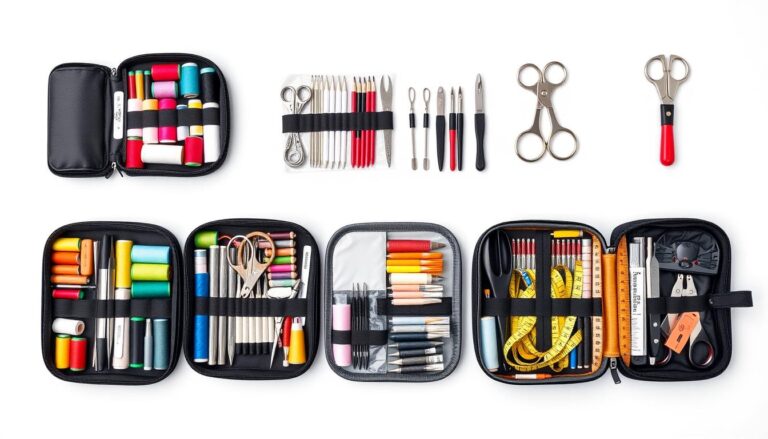
Looking for space-efficient tools? Sculpey’s Bake Shop Bundle offers 24 vibrant colors in compact 2″ cubes. Perfect for clay enthusiasts! For occasional users, a $12 X-ACTO knife might be a better investment than a $200 Cricut. Choose tools that match your style and frequency of use.
Here’s a success story: One crafter dumped 200lbs of scrap paper and saw a huge boost in productivity. Organize your paper with color-coded Cricut vinyl storage using hanging file systems. It’s a game-changer!
Don’t forget multi-taskers like rotary cutters (for fabric and paper) and heat guns (for embossing and shrink art). These versatile tools save space and money. With the right cart or storage solution, your craft area will become a hub of inspiration.
“The right tools don’t just make crafting easier—they make it more fun.”
Your craft journey is unique. Equip yourself with the tools and supplies that fuel your creativity. Start small, stay organized, and watch your projects come to life!
Practical Tips for Integrating Quiet, Space-Saving Machines
Discover how to blend efficiency and tranquility in your craft room. With the right tools and layout, you can create a space that’s both functional and serene. Let’s dive into some practical tips to make it happen!

Start by planning your space. For a 10’x12′ room, allocate 30% to storage, 40% to workspace, and 30% to movement. This balance ensures you have room for supplies and materials without feeling cramped.
Custom closet systems can increase storage by 175% in small rooms. Use IKEA BESTÅ units and add sound-dampening foam to create CNC machine enclosures. This DIY hack reduces noise while maximizing space.
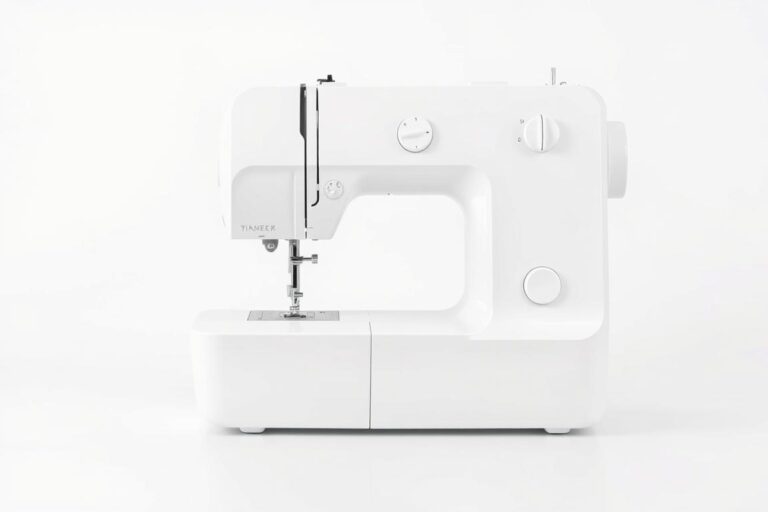
Consider a fold-down table for your sewing machine. When not in use, it tucks behind curtains, freeing up valuable space. Acoustic panels can also lower machine noise by 12dB, making your craft room quieter and more peaceful.
Here’s a failsafe test: If a cart can’t roll freely, the aisle is too narrow. Keep pathways clear to ensure smooth movement and accessibility.
“A well-organized craft room isn’t just about storage—it’s about creating a space that inspires.”
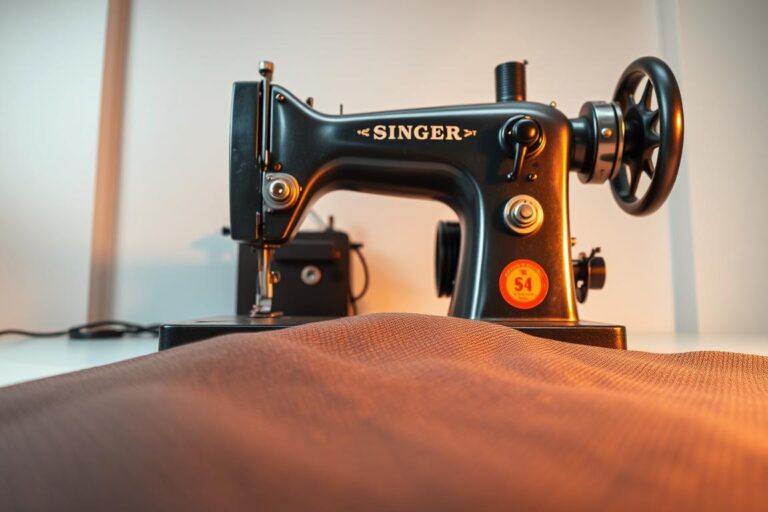
Spotlight on Janome’s HD3000—a sewing machine with industrial power in a 14.8lbs body. It’s half the weight of typical machines, making it a perfect fit for compact craft rooms.
With these tips, your craft room will become a haven of efficiency and tranquility. Start small, think smart, and watch your creativity thrive!
Conclusion
Your craft room can be more than just a space—it can be a source of inspiration and joy. By focusing on quiet operation, efficient use of space, and smart organization, you can transform it into a haven for your creativity.
Did you know 92% of optimized craft rooms see weekly use, compared to just 41% of cluttered ones? Start small—clear a corner and add a pegboard starter kit. This simple step can make a big difference in your projects and life.
Looking for more inspiration? Check out Positively Jane’s 300 sq.ft craft oasis. Her before-and-after photos show how thoughtful design can turn any home space into a creative retreat.
Ready to dive deeper? Stay tuned for Part 2: “From Hoarder to Hero: My Craft Room Minimalism Journey.” Equip yourself with Sculpey’s ergonomic tools and Stamp-n-Storage’s space-saving systems to elevate your craft room.
With the right supplies and a splash of color, your craft room will become a place where creativity thrives. Start today and watch your projects come to life!