Sewing Activewear: Machine Settings and Tips
Ever wondered why store-bought workout clothes fit perfectly while your homemade versions lose shape after a few wears? The secret lies in fabric choices and precise techniques—no industrial equipment required!
Creating performance-ready garments at home is easier than you think. With the right know-how, stretchy fabrics become your best ally, offering comfort and durability. We’ll guide you through needle selection, stitch types, and fabric handling—all tailored for movement.
Ready to craft gym-ready pieces activewear that move with you? Let’s dive into the essentials of building long-lasting activewear with confidence!
Choosing the Right Fabric for Activewear
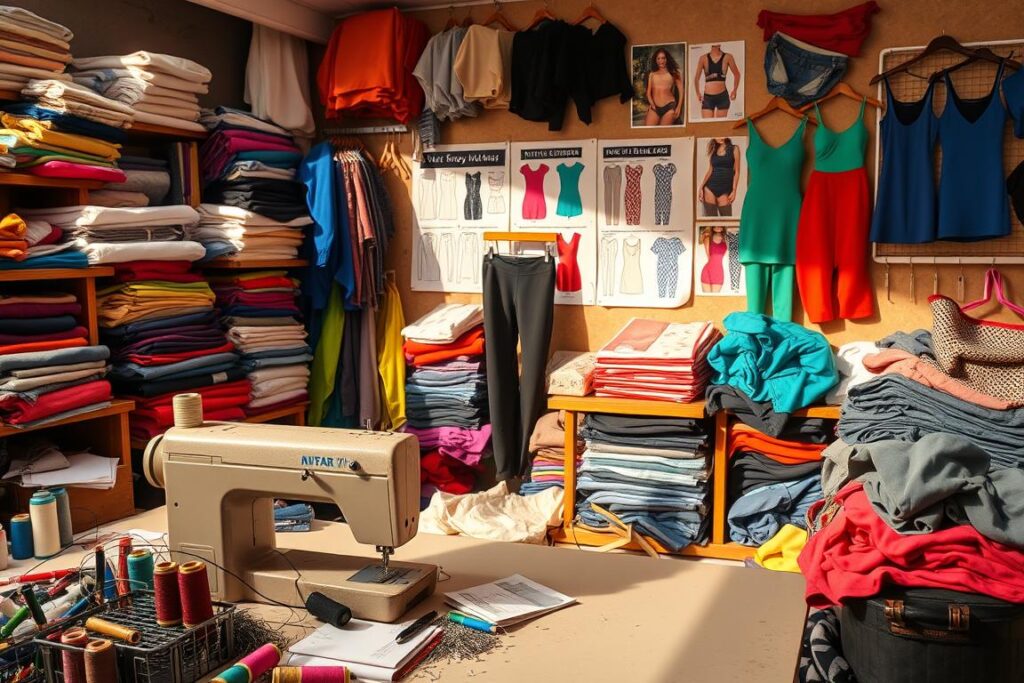
The secret to high-performance workout gear starts with picking the right fabric—let’s decode the best options! Not all materials are created equal. Some offer unbeatable stretch, while others excel at moisture control or durability.
Nylon leads the pack for lightweight, abrasion-resistant clothing. It’s a go-to for high-intensity sports. Meanwhile, Spandex delivers 4-way stretch, making it ideal for yoga or dancewear. Want eco-friendly softness? Bamboo blends sustainability with breathability.
For cold-weather workouts, Merino wool regulates temperature naturally. Hate laundry? Its odor-resistant properties are a game-changer. Prefer quick-dry tech? Coolmax pulls moisture away, keeping you dry during runs.
Test fabric stretch at home: Grab a 4-inch swatch, mark it, and stretch. If it reaches 6 inches, you’ve got 50% stretch—perfect for fitted designs. Avoid cotton blends for intense activities; they trap sweat and lose shape.
Pro tip: Match fabric types to your activity. Running gear loves moisture-wicking fabrics, while weightlifting outfits need durability. Now you’re ready to choose like a pro!
Sewing Activewear: Machine Settings and Tips
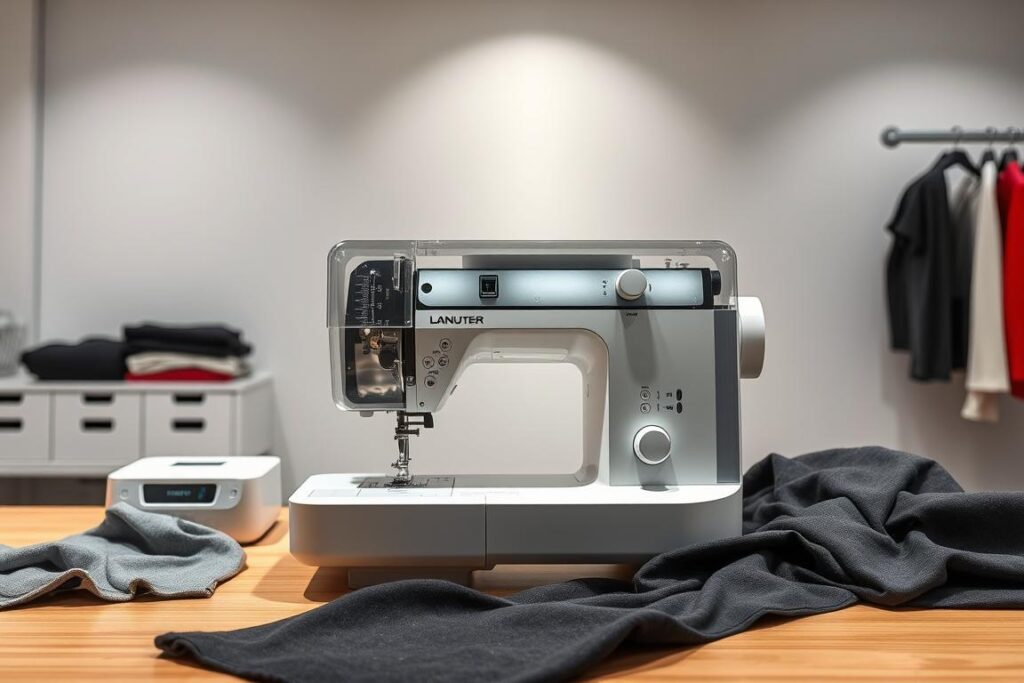
Your standard setup becomes a stretch fabric expert with the right needle-thread duo. Ballpoint needles glide between fibers instead of piercing them—size 80/12 handles most knits beautifully.
Pair them with polyester thread for durability or try revolutionary Maraflex. This elastic wonder lets you create flexible seams with straight stitches—no specialty equipment needed!
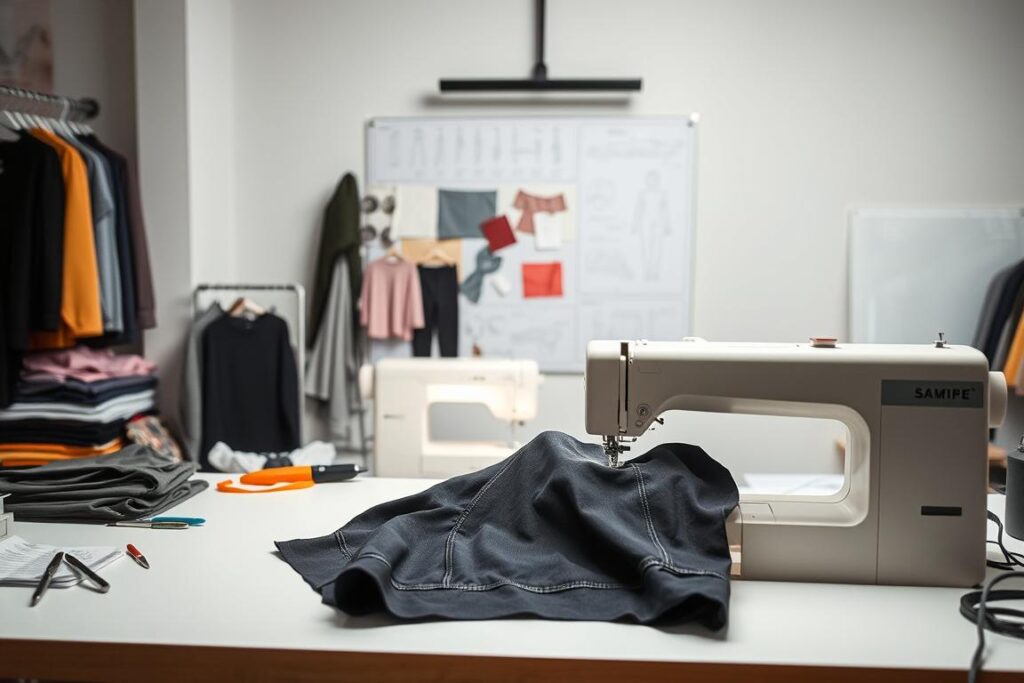
Zigzag reigns supreme for movement-ready seams. Set width to 1.5mm and length to 2.5mm as your starting point. Testing is key: sew scrap fabric, then stretch until the stitches resist. They should hold past 80% elongation.
For invisible flexibility, load woolly nylon in your bobbin. This fluffy miracle worker creates elastic seams that disappear into hems. Regular machines can mimic this effect with a simple tension tweak—lower the bobbin case spring slightly.
Eliminate wavy seams with a $30 game-changer: the walking foot. Its feed dogs prevent fabric distortion better than premium machines. Differential feed settings? Set to neutral (N) for most stretch fabrics.
When perfection matters, coverstitch or serger finishes edges professionally. But remember: your basic setup can achieve 90% of these results with smart adjustments. Now go make seams that move as hard as you do!
Essential Tools for Activewear Sewing
Transform your crafting space into an activewear workshop with these game-changing tools! Whether you’re making leggings or sports bras, the right gear elevates every project from homemade to high-performance.
Start with needles designed for stretch—ballpoint or jersey types prevent skipped stitches. Size 75/11 handles lightweight knits, while 90/14 tackles thicker fabrics. Pair them with your regular sewing machine for flawless results.
Take time to test stitches on scraps first. A wash-away stabilizer prevents tunneling—just place it under seams before stitching. This $5 trick saves hours of frustration!
No coverstitch machine? A twin needle creates professional hems with parallel stitches. Use woolly nylon in the bobbin for extra stretch. Pro tip: Slow your speed and reduce presser foot pressure.
For serious makers, a serger adds polished seam finishes. But don’t stress—a zigzag stitch on your sewing machine works nearly as well. The Madalynne S9620 pattern proves it, with video tutorials for perfect bra cups using basic tools.
One creator shared: “I sold 50 sports bras with just a walking foot and stretch needles!” Focus on mastering these essentials before investing in specialty machines. Your next project will thank you.
Mastering Seams and Hems
Strong seams and smooth hems make all the difference in workout wear—here’s how to perfect them! The right techniques ensure your creations withstand squats, sprints, and stretches without popping or pilling.
Nail the activewear trifecta: strength, stretch, and comfort. Negative ease patterns demand fabric stretch of 80% or more. Test this by pulling your seam sample—if it doesn’t rebound, adjust your stitch type.
For elastic seams, try the “stitch-and-flip” method. Topstitch with a triple zigzag to flatten bulky areas. This works wonders for side seams on leggings!
Pro hemming hack: Use woolly nylon thread with a narrow zigzag. The result? Nearly invisible stitches that move with you. One maker shared:
“My yoga pants hems now outlast the fabric itself!”
Avoid the cycling shorts pitfall—improper seam allowance causes pilling. Always use 1/4″ allowance for high-friction areas. Bonus: Wash-away stabilizer prevents tunneling under twin-needle hems.
Test before you cut! Stretch your stitches over a water bottle. If they don’t retract smoothly, lengthen your stitch. Now go create seams that perform as hard as you do!
Common Misconceptions About Sewing Activewear
Think you need expensive gear to craft pro-level workout wear? Think again! Let’s debunk the top myths that keep crafters from creating performance-ready pieces at home.
Myth #1: “You need a serger!” Truth? Your basic sewing machine triumphs. One Etsy seller shared: “I’ve stitched 200 leggings using just a zigzag stitch and a walking foot.” No serger? No problem!
Needle type experiments win over guesswork. Surprisingly, universal needles often outperform stretch variants on mid-weight knits. Test scraps first—this 5-minute hack saves hours of frustration.
Time-saving pro tips:
- Zigzag + topstitching: Combines durability with a polished finish.
- Batch-cutting fabrics slashes prep time by 40%.
- Wash-away stabilizer prevents wavy hems—no specialty tools needed.
“My 1980s Singer made squat-proof leggings! The secret? Woolly nylon thread and patience.” — DIY enthusiast Mara K.
Three budget tools pros swear by:
- Ballpoint needles (size 75/11 for most knits)
- Walking foot ($30 game-changer)
- Chalk roller for precise pattern marking
Remember: Fancy gadgets don’t replace skill. Master these stitch hacks, and you’ll craft gear that rivals store-bought labels!
Conclusion
You’ve unlocked the secrets to crafting performance-ready garments that rival store-bought quality! From fabric magic to pro-level seams, your skills now match your creativity.
Ready to put knowledge into action? Join our #SewActive challenge—share your first leggings or sports bra project. Every stitch tells a story, even the wobbly ones!
Take time to celebrate progress. That first hem? It’s proof you’re growing. Stay tuned for our advanced guide on reflective details and compression panels—your next-level upgrade.
Tag your makes with #MakerMonday. We spotlight community creations weekly! Remember: Great things begin with a single stitch. Now go create something amazing.
